How to Improve Your Vertical Jump for Basketball: Start From the Foundation

Every few weeks someone on our team asks us how to improve your vertical jump for basketball, and our answer hardly ever changes. The order you train in matters more than any single drill you pick up online. Build raw leg strength first, bring in plyometrics second, and only then refine your take-off mechanics. We have watched plenty of talented players skip straight to explosive work, feel fantastic for two or three weeks, and then hit a wall they could never fully explain.
Plyometrics look like the fastest route to height, which is exactly why players rush into them. We have seen this go wrong more times than we can count. Without enough strength in the legs, your muscles simply cannot turn bounce into lift. A jump is only as good as the force you can drive into the floor, and a weak base cannot produce that force no matter how many reps you stack on top. The frustration that follows usually pushes players toward more volume, and that is the wrong fix. What they really need is more force, not more jumping.
Think of it like building a house. Strength is the concrete slab underneath, and jumping drills are the walls that go up on top. Stack walls on sand and they will not survive a full season. Our coaches always start with the slab, even when a young player is eager to leap right away. The beginning feels slow, but the gains that follow tend to stick around, and that is what keeps a player improving deep into a long season.
Be patient with the timeline. Most players see steady progress across several weeks, not overnight. Some sessions will feel flat, and that is normal rather than a sign that something is broken. Measure your progress every few weeks instead of every day. Daily numbers mostly reflect how tired you are, not how high you can actually jump.
Step 1: Build a Lower-Body Strength Base

Strength is the engine behind every jump. Put simply, it is how much force your legs can drive into the floor. The stronger that engine, the more force travels through the ground and back up through your body, and the higher you rise. Skip this part and no amount of clever drills will fully close the gap.
The lifts we rely on most are squats, Romanian deadlifts and split squats. Squats build the big muscles of the thighs and hips, which do most of the heavy lifting at take-off. Romanian deadlifts train the back of the legs and the hip hinge, a movement you will use constantly when you load up for a jump. Split squats expose and correct side-to-side imbalances. Many players never realise one leg is doing most of the work, and that hidden weakness quietly steals height from them.
A practical starting point is three sets of six to eight reps with a load you can move cleanly. If the final rep turns into a grinding fight, the weight is too heavy for now. If fifteen reps feel easy, add a little more. Form matters far more than the number on the bar. Sloppy reps teach your body the wrong pattern, and that pattern will show up the moment you try to jump.
Do not neglect the calves and ankles. They form the final link in take-off power, working like a spring at the very end of the push. Standing and seated calf raises both help here. A stronger ankle also keeps you steadier on landing, which matters a lot in a crowded paint where you rarely land on flat, predictable ground.
Step 2: Introduce Plyometrics Gradually
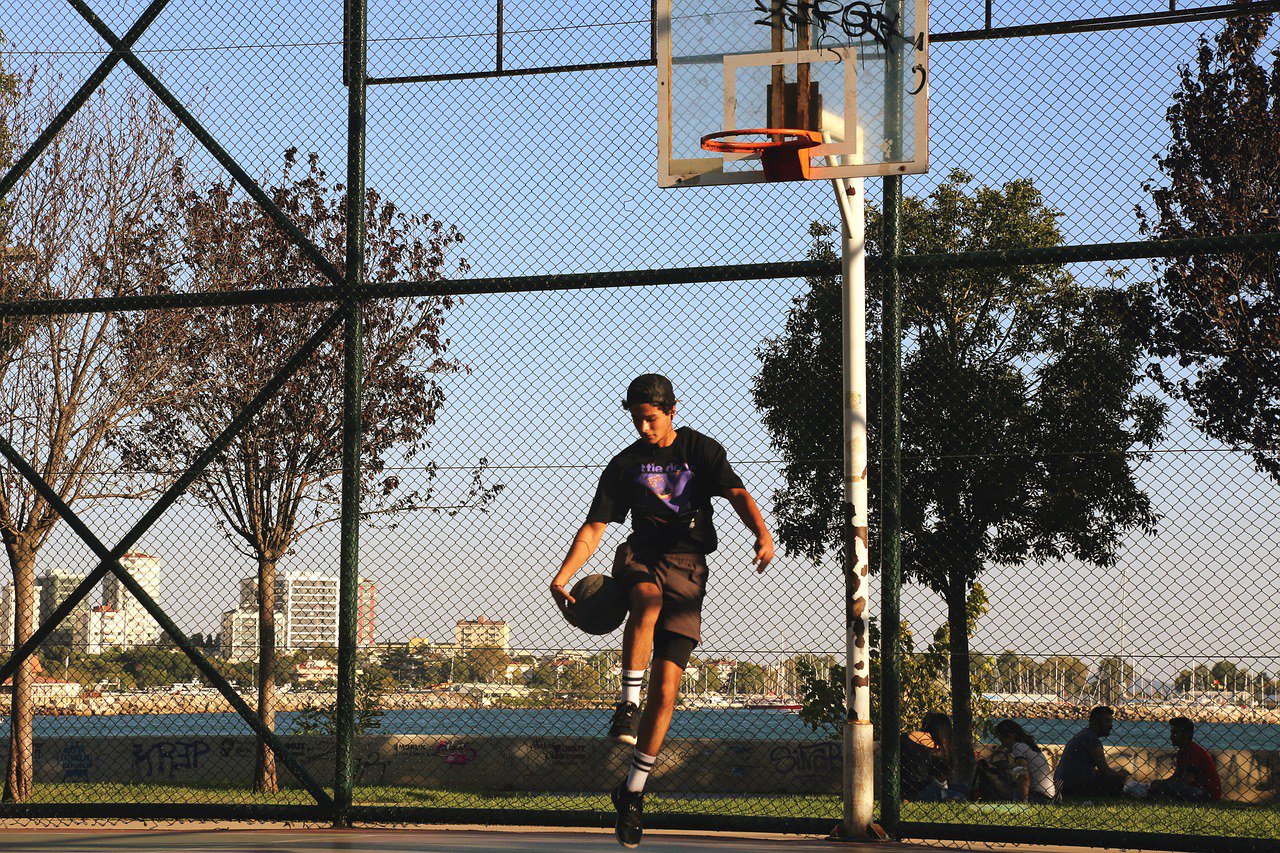
Plyometrics teach your muscles to absorb force and rebound quickly. The key word here is progression. Master each stage before moving on, because jumping too hard before your joints are ready is the fastest route to a sore knee or a tender Achilles. We once worked with a player who rushed this step and spent the next month watching practice from the sideline.
Start with low-impact drills. Pogo hops, where your feet barely leave the floor, are a good first step. Skipping for height and box step-ups belong in this stage too. They build rhythm and tendon stiffness without a heavy landing, and they give your body time to adjust to repeated impact.
Once those feel easy, move to moderate drills such as squat jumps, broad jumps and box jumps. On box jumps, step down rather than leaping down, which keeps landing forces manageable. Keep reps low and rest fully between sets. At this stage quality beats quantity every time. A tired rep is a wasted rep, and it can teach your body to land badly.
Reactive drills like depth jumps come last, and only after your landing mechanics are reliable. A reactive drill means landing and jumping again immediately, leaving no pause to hide mistakes. If your knees cave inward on contact, you are not ready yet. Fix the landing first, then return to the reactive work.
Turning Strength Into Game Height

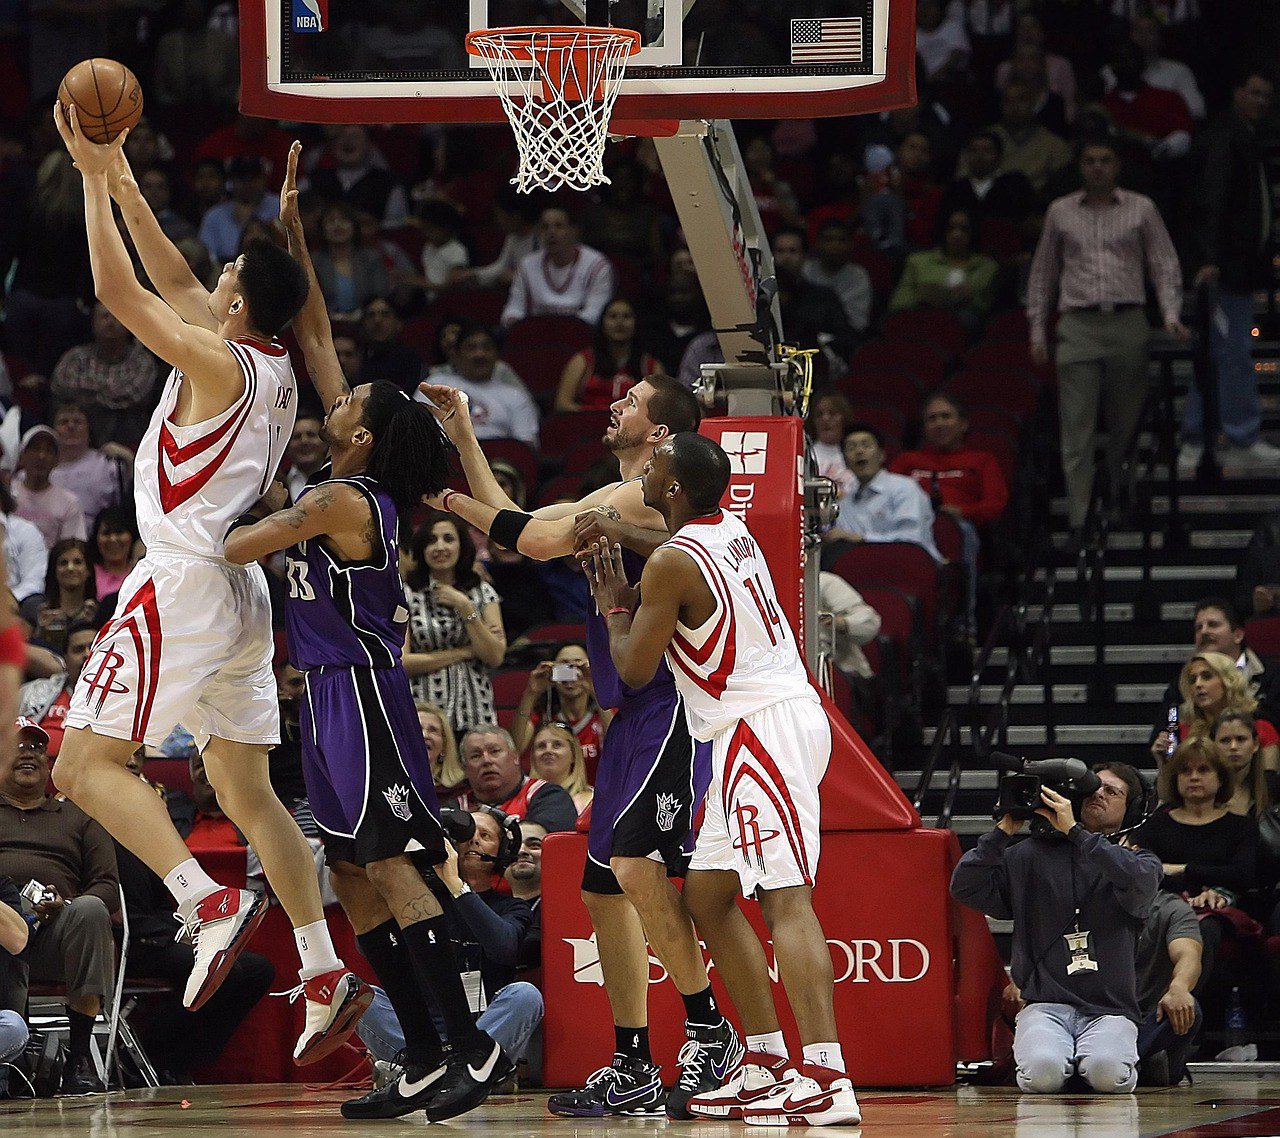
This is where many players lose height without noticing. A standing, legs-only jump is not the same as a game jump. In a real game you usually take a step or two before leaving the floor, and that approach carries momentum you can put to use.
Drill two approaches separately: the two-foot rebound and the one-foot approach you use for layups and fast breaks. They feel different, so practise each until it becomes automatic. A few cues help during reps, and we use them with nearly every player we work with:
- Drive your arms up hard as your feet leave the ground.
- Hinge at the hips so the upper body loads the legs.
- Land with knees bent to absorb the impact.
The arm swing matters more than most players expect. Your arms add upward momentum, and a sharp, well-timed swing can add real inches to your reach at the top. The hip hinge works in a similar way, letting the large hip muscles contribute instead of relying only on the calves, which tire far sooner over a long game.
A soft landing is not just about looking smooth. It protects your joints and lets you jump again sooner. Keep your weight balanced over the middle of your feet and avoid locking your legs straight on contact. A stiff landing sends shock up the chain and leaves you slower for the next play, which is the last thing you want in the fourth quarter.
Schedule Your Week Around Recovery

A structure that works well for many players is two strength sessions and two plyometric sessions, with rest days in between. One simple rhythm is strength on Monday, plyometrics on Wednesday, strength on Friday and plyometrics on Sunday. Those gaps give tendons and muscles time to adapt before the next hard day arrives. Players who try to cram everything into three days usually run out of gas by the weekend.
Keep plyometric volume moderate. Explosive quality fades when you are tired, and a tired jump reinforces bad habits. End a set once your height or speed drops, even if reps remain on the page. Warm up before every session with five to ten minutes of light cardio, leg swings, ankle rocks and a few easy hops, so the tendons are ready before the real work begins.
Why the Gains Happen During Rest

Many players believe the work happens in the gym, but the workout is really just the signal. The body adapts during recovery. Training without enough rest keeps sending the signal without giving the body time to respond, and that is how players end up flat and sore at the same time.
Sleep plays a big part in that adaptation. We ask players to protect sleep as carefully as they protect training time, with consistent hours and a regular bedtime. Nutrition supports the same goal. Eat enough protein and enough total food to fuel the load you are asking your legs to carry. Otherwise recovery slows down quietly in the background, and you only notice when the jumps stop coming.
Watch for signs that you need more rest. Heavy legs that never feel fresh are one. A falling jump height across sessions is another. Poor sleep combined with rising irritability can also point to overload. When you notice these, back off for a few days before pushing again. A short break now is far cheaper than a month on the sideline later.
Recognise Injury Warning Signs Early
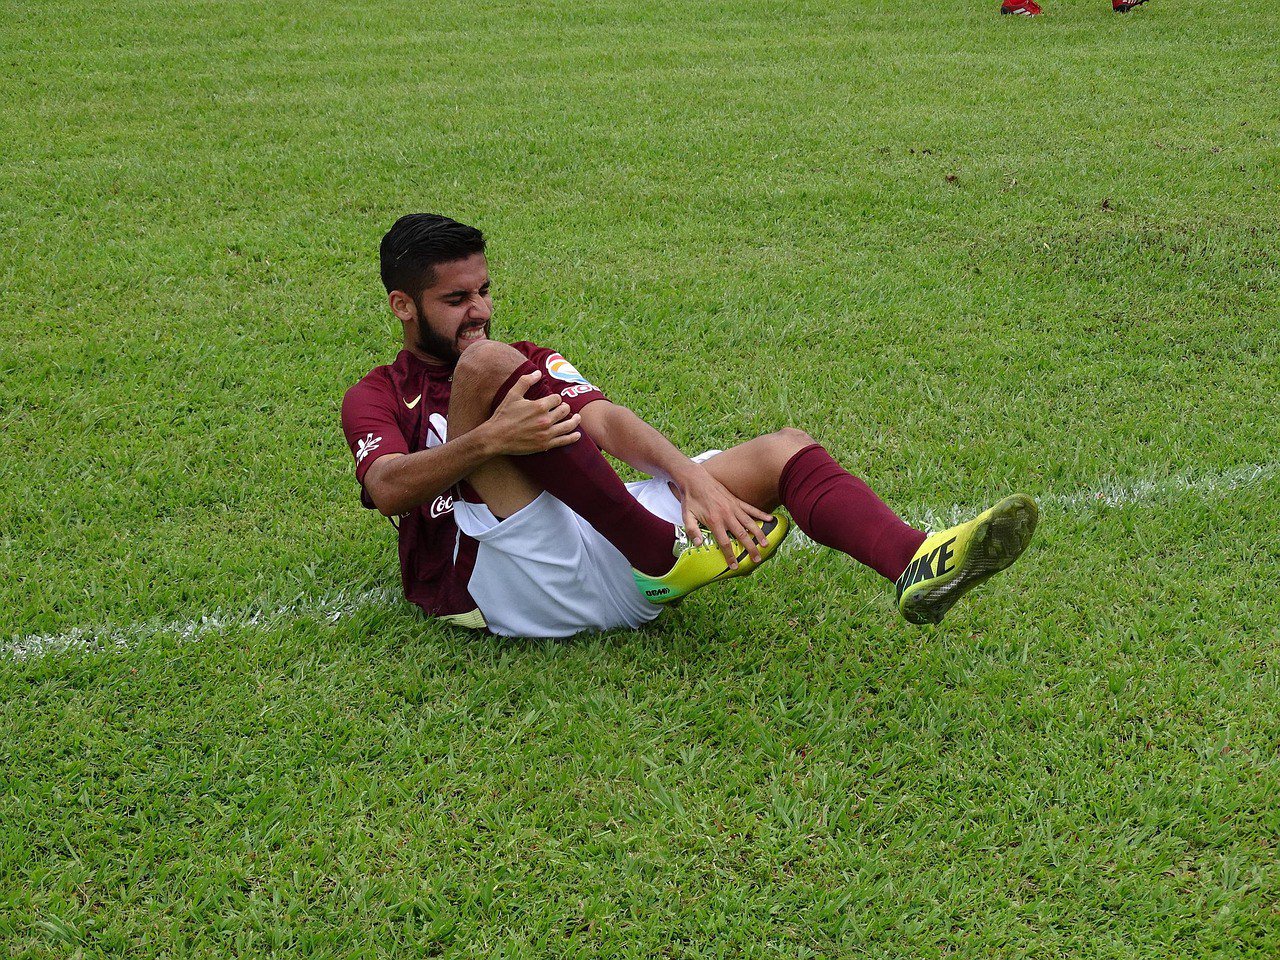
Jumping sports load the patellar tendon, the Achilles and the shin heavily. Some soreness after hard sessions is normal. Pain that lingers, or pain that worsens as you keep jumping, is not. Treat it as a signal to adjust your training rather than a challenge to push through.
If tendon or shin pain does not settle with rest, reduce your volume first. If it still does not improve, stop jumping and see a qualified professional such as a sports physiotherapist or doctor. Pushing through sharp joint pain is how a short setback turns into a long one. Gradual progression is your best protection: add volume or difficulty only when the current stage feels comfortable.
Track Your Numbers So You Know It Works
You cannot improve what you do not measure. Test your standing reach and a standing vertical jump once every four weeks, using the same method each time so the results compare fairly. Standing reach is your fingertip height with arms stretched up, and the jump is the gap you add above it.
Note your training load, rest days and how your legs feel after each session. A few words are enough. Over a month these notes reveal patterns, such as a heavy week that always follows two hard sessions back to back. Test on the same surface and at the same time of day, because a wooden court and a concrete floor give very different feedback.
Where These Skills Show Up in Real Games
Watching elite players shows you what your training is aiming for. Hang time, the moment a player seems to stay airborne, is what separates a highlight from an ordinary play. Clips like our top 10 dunks of the week reward a close look at how the best players use arm swing and approach to float.
Training camps reveal the other side of the story. Our behind the scenes look at training camp shows how coaches build athleticism through steady routines rather than heroic single sessions. For a broader look at performance and training resources, you can also check out tại đây.
Apply the same principles to your own game: build the strength base, progress your plyometrics, drill your approach and recover well. Test yourself every four weeks and let the gains add up over the season.
Frequently Asked Questions
How long before I see a real vertical improvement?
Most players notice a measurable change after several weeks of consistent training. Expect steady progress rather than a sudden jump. Testing every four weeks makes the trend easy to see and keeps motivation high when early gains feel small.
Can I improve my vertical without weights?
Yes. Bodyweight split squats, single-leg work and low-impact plyometrics all drive progress. Weights build strength faster, so add them when you can, but start with what you have.
How many days a week should I train jumping?
Two plyometric sessions a week suit most players, with rest in between. Add a third only if your legs recover quickly and your height keeps climbing.
Is soreness after plyometrics normal?
Some soreness after new or hard plyometric work is normal, especially in the first few weeks, and it should ease within a day or two. If the pain is sharp, lingering or focused in a joint, cut back and consult a qualified professional.